
THIS IS WHY BONE BROTH IS SO POPULAR (& HOW TO MAKE IT)
Bone broth may have had a moment a few years ago, but it’s as timeless an ingredient as they come. Made from boiling fish or meat bones with water and, sometimes aromatics, bone broth has long been used in many cultures around the world as a base for soups and stews, as well as a standalone immune-boosting elixir. It’s a gut-healthy, nourishing and energising ingredient that once you get into, you won’t be able to get enough of. One of the reasons bone broth is so good for you is that it helps line your gut thanks to the amino acids, gelatin, glucosamine, fats, vitamins and minerals it contains. With a healthy gut lining, you’ll be better able to digest everything else you eat.
The reason we refer to bone broth as opposed to stock is that stock now comes in lots of different formats — from a veggie homemade version to stock cubes and bouillon pots — so bone broth is a type of stock, but stock doesn’t always equal bone broth.
Making a basic bone broth is super easy and so versatile — you can drink it alone or use it, as it is used traditionally, as a base for Vietnamese Pho, Chinese egg drop soup, Japanese ramen, Jewish chicken soup, Russian borscht, Polish rosół and Italian broth, or any soup or stew your heart desires, as well as in gravies, a ladle into scrambled eggs or to steam veggies. It takes a long simmer to perfect, but not as much prep as you may think.
Bone broth is also widely recognised in Ayurveda as nourishing, warming and good for our joint and bone health. It is suitable for all Doshas, and is a great way to get some of the most important benefits from meat without having to eat the actual meat itself. Plus, it helps to reduce waste as you can use the bones from your Sunday roast or ask for leftover bones at your local butcher’s, rather than having them go into the bin.
I’ve written many articles and recipes for bone broth over the years, and now — having made it on a fairly regular basis for the last decade — I’ll tell you exactly what I do to make this a practical part of my daily life.
I use a slow cooker. You can pressure cook and you can simmer in the oven or on the stove, but doing it by slow cooker makes it easy, safe and cost-effective. Mine is a cast iron slow cooker from Netherton Foundry, which looks stylish, isn’t coated with any “non-stick” coatings which potentially leak into your broth or soups and stews (especially if adding acidic ingredients such as lemon or tomatoes) and actually adds a touch of iron to your decoction.
Ingredients. When I go to a farmers market and find farmers selling organic/grass-fed carcasses/bones, I stock up (‘scuse the pun) and pop them in the freezer ready to go. The provenance of the animal products you source is very important. If I make a roast I always save the bones (even if it’s a small amount!) to pop into the slow cooker. You can roast the bones beforehand for a deeper flavoured broth but it’s another step!
The how to. I fill the slow cooker with boiling water (you can start with cold but I always just get going), pop the bones in, set my dial to low (I find “high” too high on modern slow cookers, which means that steam does escape) and leave it all day/all night and usually a day and a night (see number 5) — just keep an eye on liquid levels and make sure bones are covered.
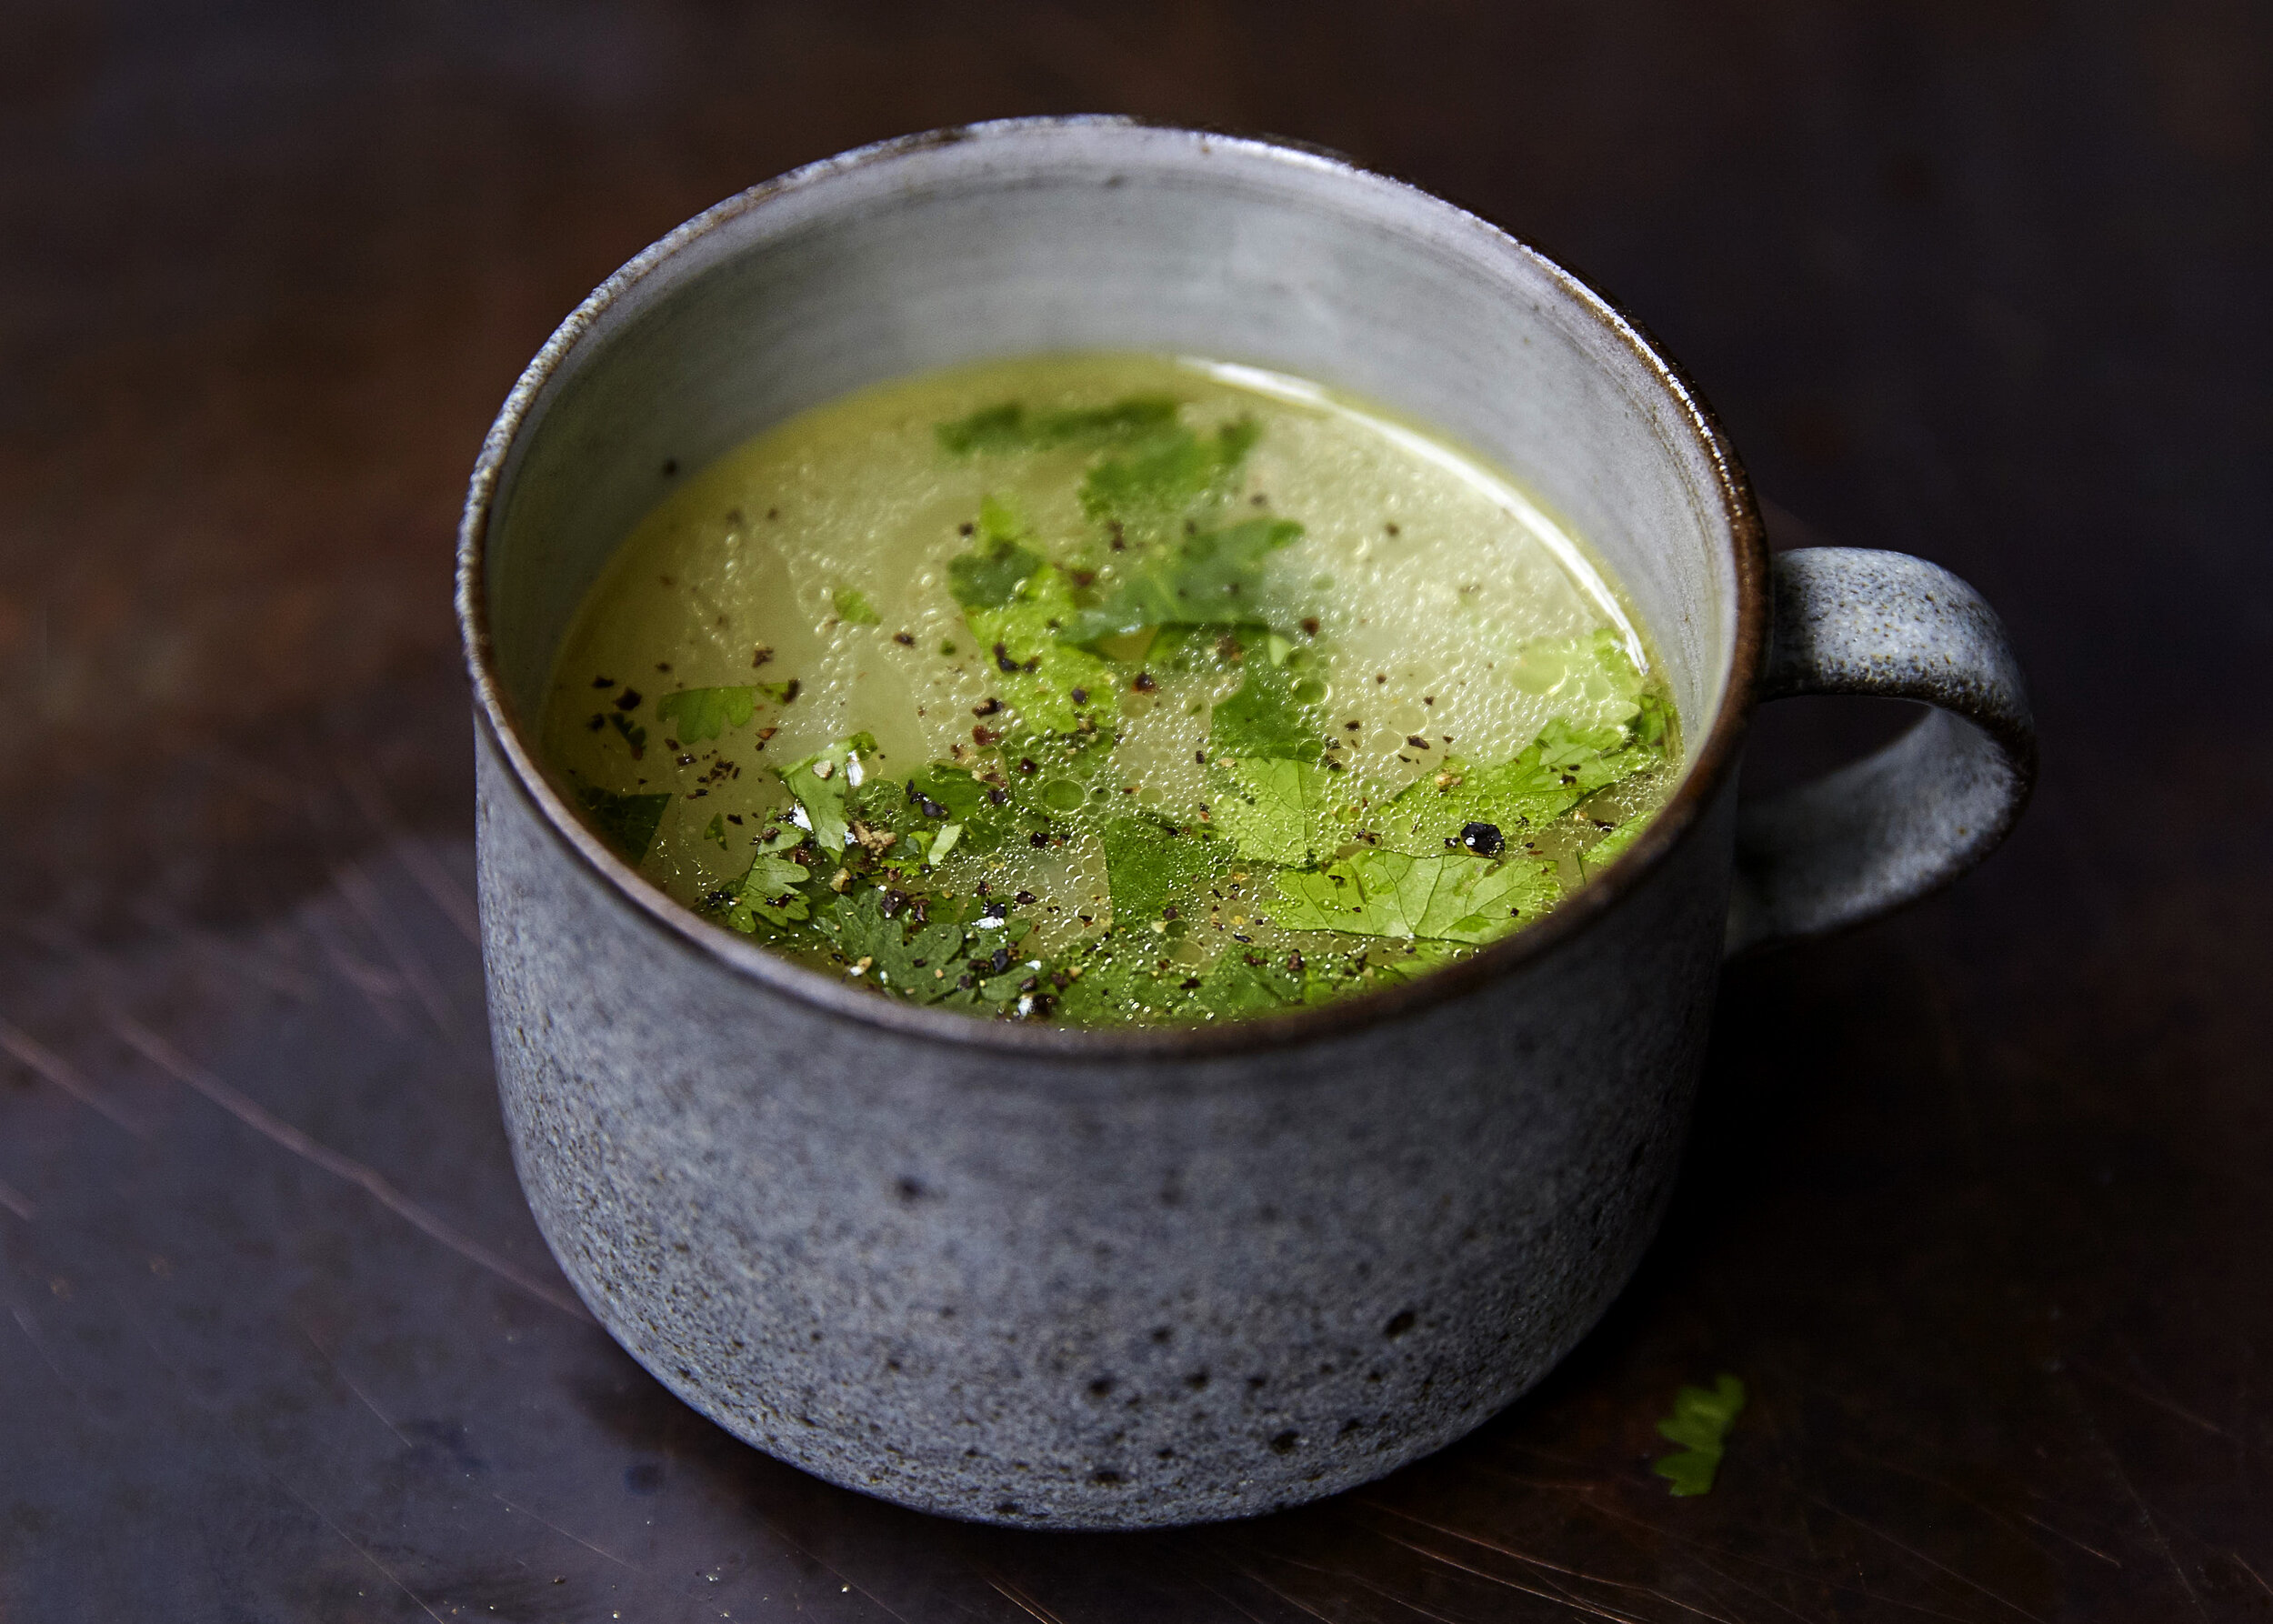
I don’t add anything to the broth. I use this broth in many different ways, so prefer to have something simple that I can adapt. If I’m making soups or stews, etc with the broth, I use the aromatics when directly making the soup (e.g. carrots, onions, celery, bay leaves) rather than adding them to the slow cooker/stockpot/broth. This also means that if I add a splash of the broth to my dog's food it’s fine (though a bit of watered down onion or bay leaf isn’t going to be problematic either way). Some people add salt or black pepper when making their broth but I skip this too and if I just want a cup of broth then a sprinkle of salt and pepper can be added straight to the mug. Definitely don’t add any peels from the brassica family into the pot — these don’t do well on a long cook! Veg scraps can be saved for actual soups. You can add a bit of an acidic medium like vinegar or lemon juice — this is to help break down the collagen in the bones and give you a broth that gels, but I find that my broth does this anyway when I cook it long enough.
Simmer for 8 hours, 24 hours, 48 hours. If it’s a good amount of bones I’m simmering up then you’ll find me ladling out the tasty broth for dishes over the course of the cooking time, adding a bit more water back in and keeping it all going for a couple of days. When I’m done with the final broth and the bones are soft (will depend on thickness of bones — the bigger the bone the more it has to offer and the longer it can cook — I strain, use the last of it and mash the bones as part of my dogs dinner (they love it!). If you don’t have dogs then add the scraps to a secure compost heap (not open or you’ll attract rats!) or add to a food waste collection bag.
If you have a very fatty broth you can cool it, skim the fat and save it for use as a cooking fat (it has a very high smoking point so is good for roasts and to add more omega-3s (if using grass-fed bones) to your diet). Chilling the broth makes it very easy to skim the fat but if left to cool in a cold kitchen the fat will also eventually solidify on top. Spoon into a clean jar and store in the fridge to use as needed.